A better way to make perfect clutch or brake double flare brake lines, more consistently and with ease.
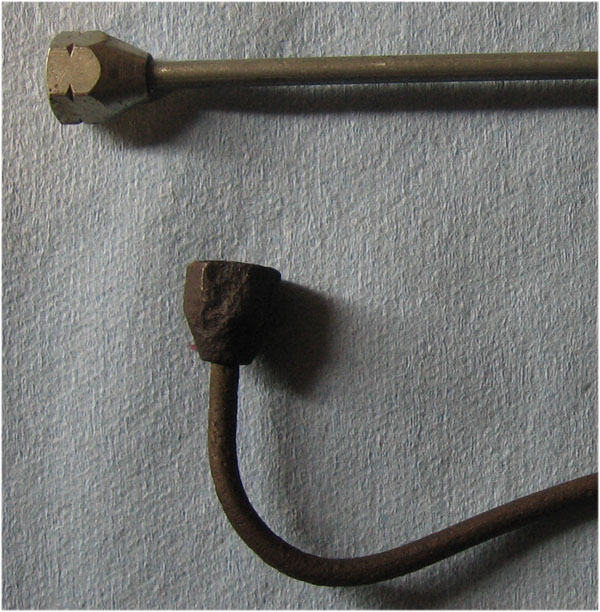
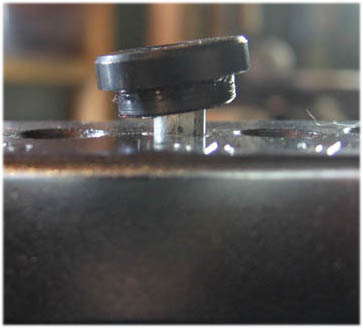 The main problem with the standard double flaring tool is that the die is not centered when it sits on the top of the end of the brake line and there is a much greater chance for error than for success. You can see on this picture that the die is not square with the surface of the tool and the yoke does not help much in the centering and squaring of the die. You need a good eye and a lot of patience to be able to make good flares with this tool, and even given that the success is not guaranteed. Making double flares on 3/16" brake pipe with this tool is particularly difficult.
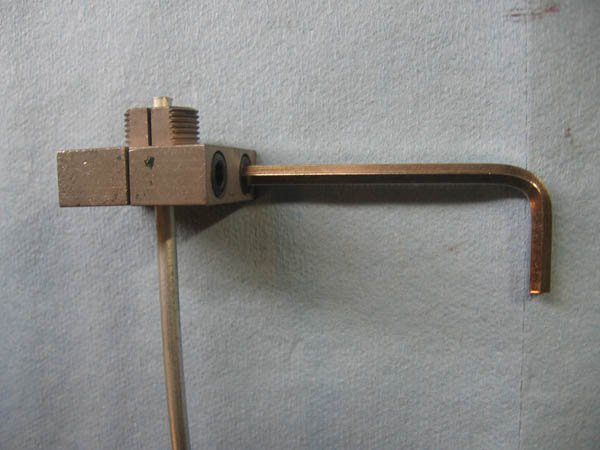
We will use a different tool to make a brake line for our Triumph GT-6 project.
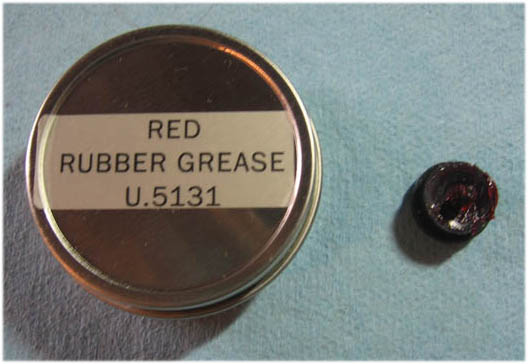
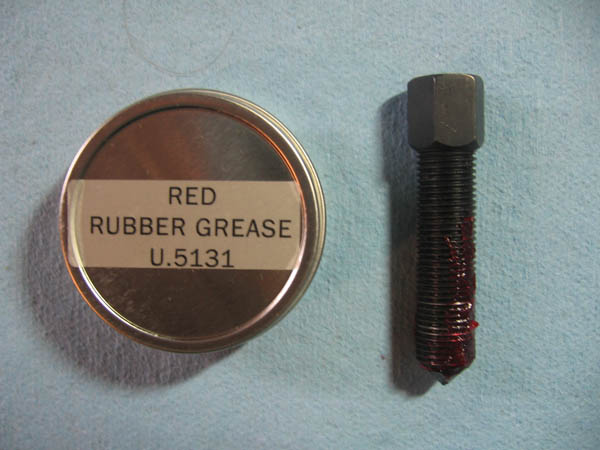
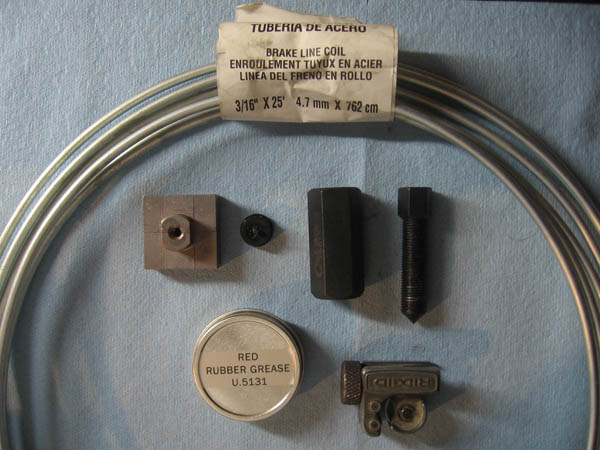 Besides the double flaring tool we will need a length of a brake line, a pipe cutter and red rubber grease.
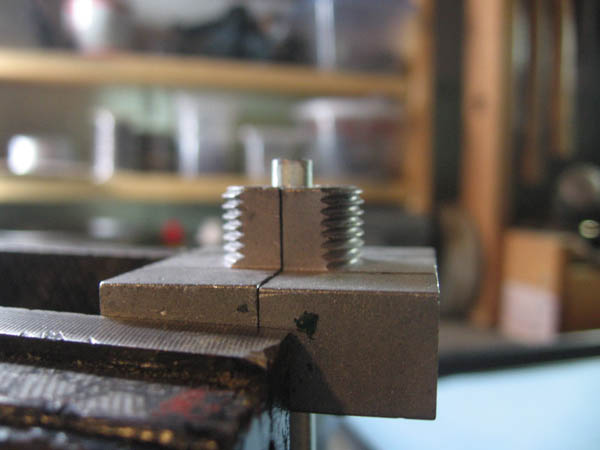
 Place the end of the brake line into the die block of the tool and slightly tighten the set screws.
 Same as with the standard double flaring tool, adjust the length of the pipe sticking over the die block to be even with the shoulder of the die.
 Tighten the set screws of the die block. In contrast with the standard tool you don't need to tighten the screws very hard. This tool has double gripping surface and the set screw can be tightened with a regular Allen wrench by hand.
 You can hold the tool in hand, but if the brake line you are working on is not on the car it's easier to place the tool with the pipe in the vise.
 Lubricate the base of the die with red rubber grease. This step is important for two reasons. First, it allows the die to turn against the end of the brake line more easily. Second, it protects the die from wearing out when rubbing against the brake line. Red rubber grease is not the best metal to metal lubricant, but because it is compatible with brake fluids and will not contaminate brake lines it works great in this particular application.
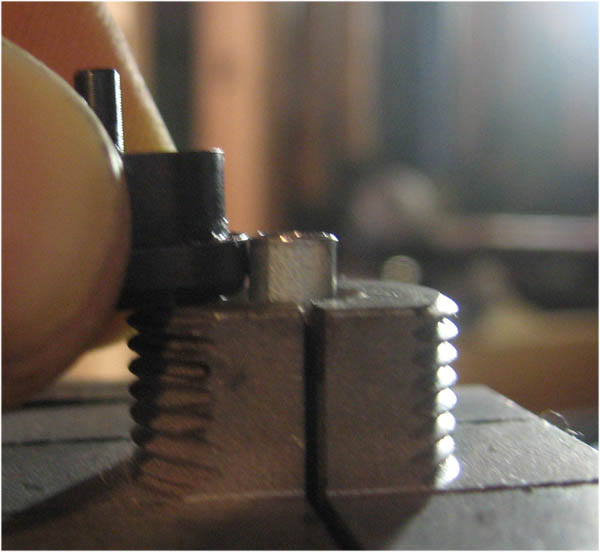
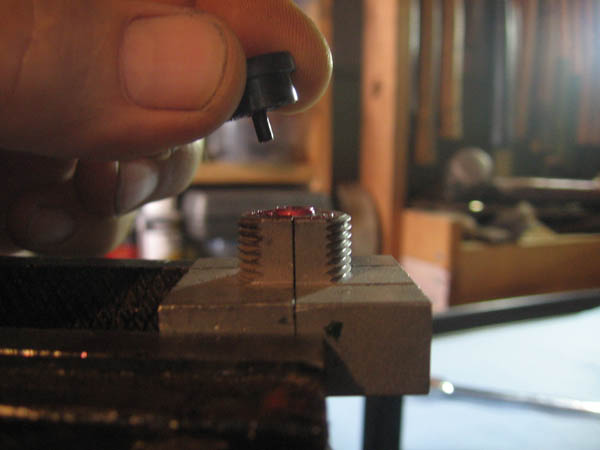
 Place the die over the end of the brake line. The pin of the die goes inside the pipe.
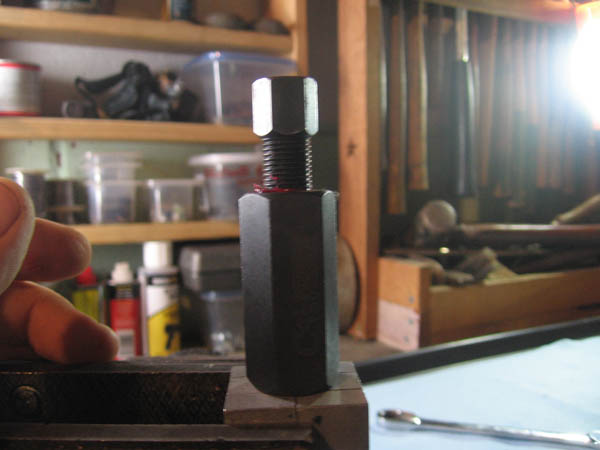
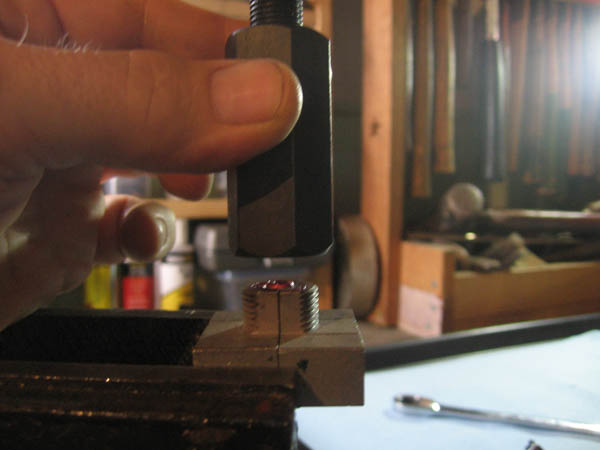
 Screw the sleeve of the tool on the die block over the die. The sleeve should go all the way down, but does not need to be very tight, if the threads are in good order it can be tighten just by hand.
A great thing about this flaring tool that it is self-centering and thus it eliminates the need for painstaking squaring the die with the die block.
 Lubricate the threads and the very tip of the screw with red rubber grease. Again, this is an important step. We want to lubricate the tip of the screw so it easily turns over the base of the die and later over the end of the brake pipe. We want to lubricate the threads of the screw so it turns earlier and to protect the tool from wear. Since the reality is that most of the tool are currently being made from a soft steel, such tools require lots of lubrication to help to keep them in good shape and protect them from wear.
 Just as a helpful tip: once you get a new tool, first thing is to chase all threads if it has any and lubricate anything that can wear. You may notice with the standard tool that the harder you tighten the clamp, the harder to do it next time. Without lubrication the threads on the standard tool self-destruct.
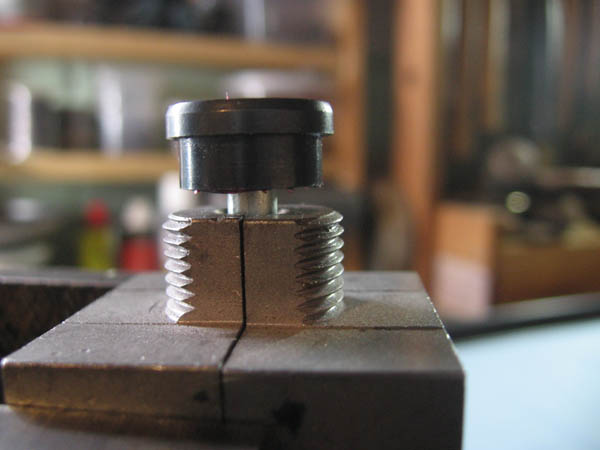
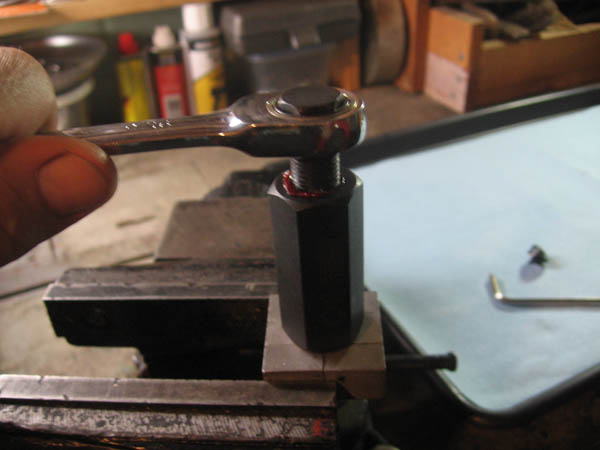
 Insert the screw into the sleeve.
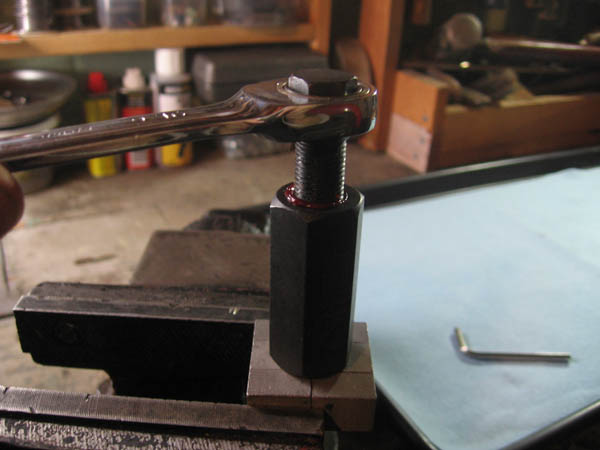 Don't over tighten the screw.
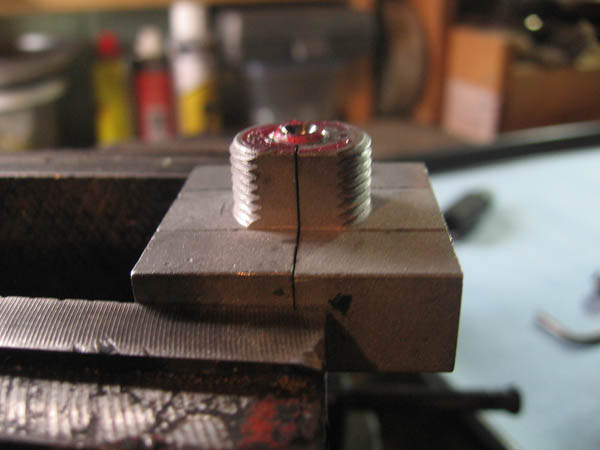
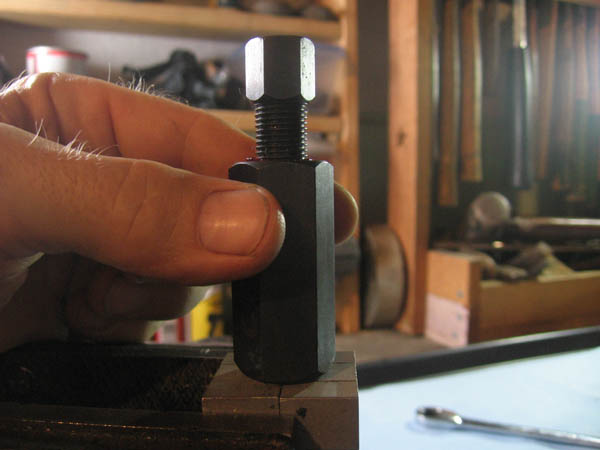 First part of the flare is done. Unscrew the sleeve together with the screw.
 Remove the die.
 Place the sleeve with the screw back on the die block.
 Tighten the screw again to finish the double flare. Don't over tighten. This time tighten even less than the first time.
 Remove the sleeve with the screw.
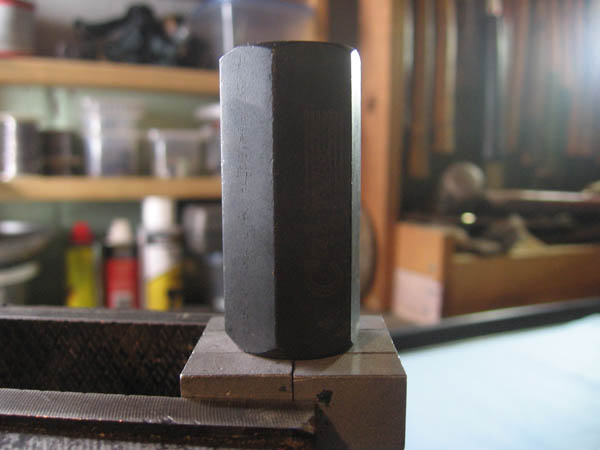
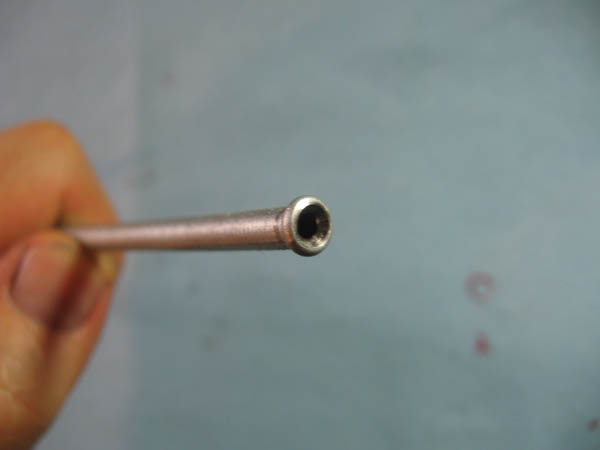 A perfect double flare is done.
 Place brake nuts on the line and do a flare on the other end of the brake line.
One more point on the tools comparison.
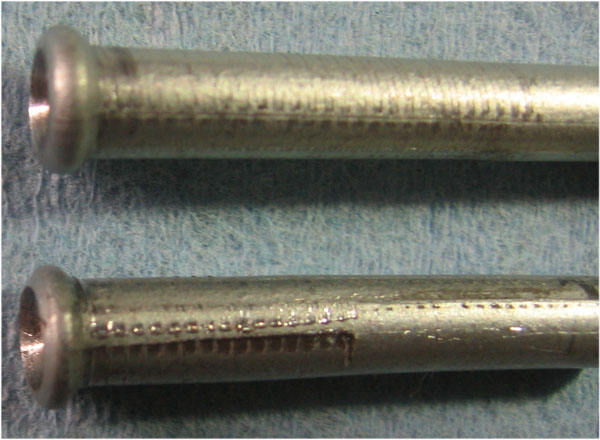 Compare double flares made with this tool (top) and with the standard double flare tool (bottom). The standard tool gripping surface is less wide and thus the tool is much more damaging to the outer surface of the brake line.
 Also, because the standard tool's clamp does not close all the way and leaves a small gap between the two bars of the clamp, it leaves two ridges on the back side of the flared end of the brake line as well as on both sides of the line itself that was crimped by the clamp.